
How to Use Dermaplaning Oil for the Smoothest Skin Ever
The Ultimate Guide to Dermaplaning Oil: Benefits, Tips, and How to Use It
Dermaplaning is quickly becoming one of the most popular skincare treatments around. But did you know that using the right dermaplaning oil can make all the difference? Whether you’re new to dermaplaning or a seasoned pro, having the right oil helps ensure a smoother, gentler experience for your skin. In this post, we’ll dive into everything you need to know about dermaplaning oil, how to use it effectively.
What is Dermaplaning?
Dermaplaning is a skincare treatment where a small, sterile blade is used to gently scrape off dead skin cells and fine facial hair. This process helps to reveal brighter, smoother skin. It’s kind of like giving your face a fresh start! Many people love dermaplaning because it makes their skin look healthier and allows skincare products to absorb better. The treatment is safe for most skin types and can be done at home or by a professional.
However, if you’re going to dermaplane your face, using a good dermaplaning oil is key. It reduces friction, helps the blade glide smoothly, and adds extra nourishment to your skin.
What is Dermaplaning Oil, and Why Do You Need It?
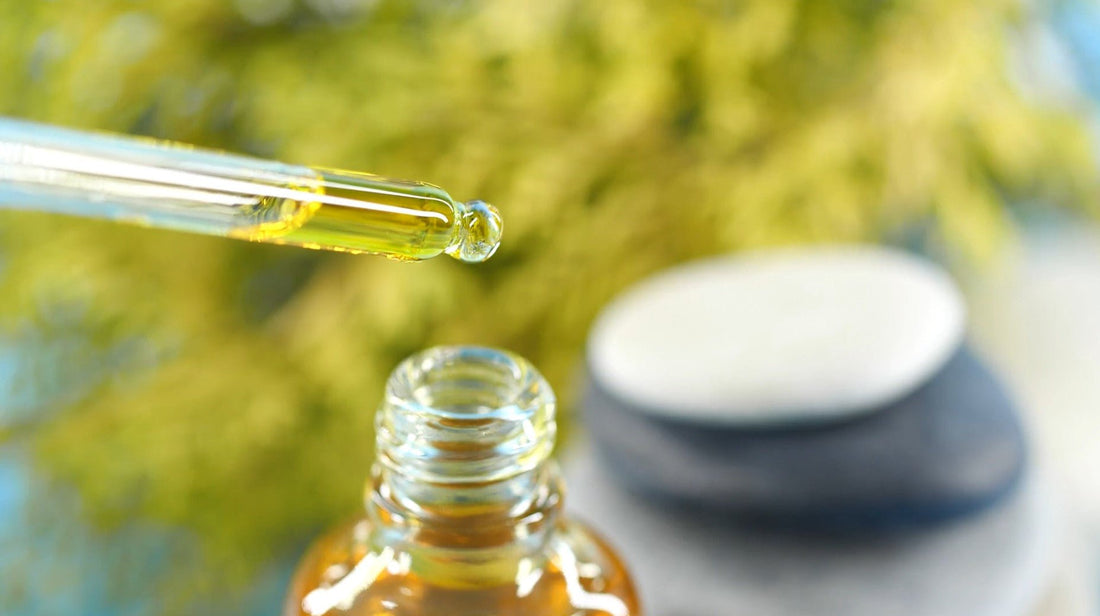
Dermaplaning oil is a lightweight facial oil applied to the skin before and after the dermaplaning process. It acts as a barrier between the blade and your skin, allowing for a smoother shave without irritating or pulling on the skin. But that's not all! It also moisturizes your skin and can help soothe any redness or sensitivity after dermaplaning.
Our Dermaplaning Oil - With Oatmeal, Primrose, Apricot Kernel, Jojoba, and Grapeseed Extracts is specially formulated to provide maximum comfort and benefits for your skin. Let's break down why these ingredients are so important:
- Oatmeal Extract: Known for its soothing properties, oatmeal helps calm the skin and reduce irritation.
- Primrose Oil: Rich in essential fatty acids, primrose oil moisturizes and strengthens the skin's natural barrier.
- Apricot Kernel Oil: Packed with vitamins A and E, this oil hydrates and rejuvenates the skin, leaving it soft and glowing.
- Jojoba Oil: Mimicking your skin's natural oils, jojoba is perfect for balancing moisture levels without clogging pores.
- Grapeseed Extract: High in antioxidants, it protects the skin from damage and keeps it looking youthful.

![]()
How to Use Dermaplaning Oil for the Best Results
Using dermaplaning oil is simple, but there are a few steps you should follow to ensure you get the best results:
Step 1: Cleanse Your Face
Before you begin, make sure your face is clean and dry. Use a gentle cleanser to remove dirt, oil, and makeup. This step is crucial as it prepares your skin for a smooth dermaplaning session.
Step 2: Apply the Dermaplaning Oil
Apply a few drops of the Dermaplaning Oil to your face. Gently massage it into your skin using upward circular motions. This oil will help the blade glide effortlessly and minimize the risk of nicks or cuts.
Step 3: Start Dermaplaning
Hold the blade at a 45-degree angle and gently scrape the surface of your skin using short, light strokes. Avoid applying too much pressure – let the blade do the work! The oil will create a protective layer, ensuring a smooth glide and reducing irritation.
Step 4: Reapply Oil Post-Shave
After dermaplaning, apply a few more drops of oil to soothe and moisturize your skin. This step helps lock in moisture and leaves your skin feeling soft and radiant.
5 Best Tips for Dermaplaning at Home
- Choose the Right Oil: Not all oils are created equal! Our specially formulated dermaplaning oil includes oatmeal, primrose, apricot kernel, jojoba, and grapeseed extracts to provide the perfect balance of moisture and nourishment.
- Prep Your Skin: Always cleanse your face before dermaplaning. Starting with a clean canvas helps prevent irritation and ensures the best results.
- Use the Right Tool: Opt for a high-quality, sterile blade specifically designed for dermaplaning. This ensures safety and effectiveness.
- Take Your Time: Don’t rush! Gentle, slow strokes will give you the smoothest finish and prevent any unwanted nicks.
- Follow Up with Oil: Post-dermaplaning, applying oil helps calm and hydrate your skin, reducing redness and enhancing that fresh-faced glow.
Why Choose Our Dermaplaning Oil?
Our Dermaplaning Oil is manufactured in the UK to support all skin types. It’s lightweight, non-greasy, and packed with skin-loving ingredients to soothe, nourish, and protect your skin both during and after dermaplaning. Plus, the 30ml bottle is the perfect size for travel or to keep on your bathroom counter!
Frequently Asked Questions About Dermaplaning Oil
1. Can I Use Any Oil for Dermaplaning?
While some oils may work, it's best to use a specialized dermaplaning oil designed to provide the right balance of moisture and glide. Our oil is formulated with skin-friendly extracts that not only make dermaplaning easier but also provide added skincare benefits.
2. How Often Should I Dermaplane?
For most people, dermaplaning once every 3-4 weeks is ideal. This gives your skin time to regenerate and stay smooth.
3. Can I Dermaplane Sensitive Skin?
Yes! Dermaplaning can actually help sensitive skin by gently exfoliating and removing dead skin cells. Using a soothing oil like ours helps minimize any irritation.
4. Is Post-Dermaplaning Oil Necessary?
Absolutely! Post-dermaplaning oil helps to calm and hydrate the skin, reducing redness and promoting a healthy, glowing complexion.
Create a Smooth, Radiant Canvas Today!
Dermaplaning can completely transform the way your skin looks and feels, and using the right oil is crucial to that transformation. Our Dermaplaning Oil is the ultimate companion for a smooth, irritation-free experience. With its blend of nourishing ingredients, it's designed to support your skin's health before, during, and after dermaplaning.
Ready to give your skin the best? Try our dermaplaning oil and experience the difference for yourself!

![]()